Introduction
Ever wonder if creating a lush, private oasis in your backyard means sacrificing your entire weekend and budget? Many people believe that transforming outdoor spaces into tranquil retreats requires extensive, costly landscaping. But what if I told you that with thoughtful backyard gardening, you could achieve stunning privacy, enhance your home's aesthetics, and enjoy a vibrant green sanctuary without breaking the bank or your back? This guide will show you how to harness the power of plants to create beautiful, functional screens around your pool or patio, making your outdoor living space truly feel like an escape.
Tools & Materials Needed
To embark on your privacy-focused backyard gardening journey, gathering the right tools is key. Think of these as your trusted companions for creating a thriving green screen.
- Shovel and Trowel: For digging planting holes and working with soil. Consider a sturdy ergonomic shovel to save your back!
- Gardening Gloves: Protect your hands from thorns, soil, and blisters. Leather or heavy-duty fabric are excellent choices.
- Pruning Shears/Loppers: Essential for shaping plants, removing dead branches, and encouraging bushier growth. Bypass pruners are ideal for live wood, while anvil pruners are better for dead stems.
- Wheelbarrow or Garden Cart: For easily moving soil, mulch, and plants around your yard.
- Measuring Tape: To ensure proper spacing between plants and distance from structures.
- Soil Amendments:
- Compost: Enriches soil with organic matter, improving drainage and nutrient retention. An eco-friendly alternative is homemade compost – significantly reducing waste!
- Topsoil: If your existing soil is poor, adding a fresh layer of nutrient-rich topsoil will give your plants a strong start.
- Mulch: Organic options like wood chips, straw, or shredded leaves suppress weeds, retain soil moisture, and regulate soil temperature. They are also budget-friendly alternatives to decorative stone.
- Plants for Privacy: Focus on fast-growing evergreens, dense shrubs, or climbing vines. Some excellent choices include:
- Emerald Green Arborvitae: Classic, narrow, and low-maintenance.
- Skip Laurel: Fast-growing, dense, and glossy green leaves.
- Climbing Hydrangea or Trumpet Vine: Great for trellises or existing fences.
- Bamboo (Clumping varieties ONLY): Provides quick, dense screening but choose non-invasive clumping types like 'Fargesia'.
- Stakes and Ties: For supporting young trees or vines, guiding their growth.
- Watering Can or Hose with a Gentle Sprayer: Especially important during the establishment period.
- Optional – Drip Irrigation Kit: For efficient, hands-free watering, saving water and time.
For those on a tighter budget, look for plant sales at local nurseries, consider starting plants from cuttings (though this requires more patience), or explore community plant swaps. Reusing old containers for temporary plant holding is another great eco-friendly and budget-conscious tip!
Time & Effort Overview
Creating a private sanctuary through backyard gardening is a rewarding endeavor, and understanding the time commitment upfront helps in planning.
- Planting: For a typical privacy screen of 10-15 shrubs, expect to spend one full weekend (approximately 10-16 hours) for digging, planting, and initial watering. This can be broken down into smaller sessions if preferred.
- Initial Establishment (First 3-6 months): This phase requires consistent attention. Daily watering is crucial for the first few weeks, gradually decreasing to 2-3 times a week depending on weather and plant needs. This might take 30-60 minutes each watering session.
- Growth Rate: Many popular privacy plants, like Leyland Cypress or Skip Laurel, can grow 2-3 feet per year, establishing a significant screen within 2-3 years. This is roughly 50% faster than slower-growing options like Boxwood, which might only add 6-12 inches annually.
- Maintenance (After establishment):
- Watering: Weekly deep watering during dry spells, taking about 15-30 minutes.
- Pruning: Annually or bi-annually, depending on the plant, which can take 1-3 hours for a medium-sized screen.
- Fertilizing: Usually once or twice a year, taking 30-60 minutes.
- Weeding/Mulching: As needed, but mulch greatly reduces this task; 1-2 hours quarterly.
Difficulty Level: This project is generally Intermediate. While the planting steps are straightforward, selecting the right plants for your climate, understanding soil needs, and committing to consistent initial care require a bit more knowledge than simple container gardening. However, with a good plan and a willingness to learn, even a dedicated beginner can achieve great results. Success hinges on research and preparation!
Step-by-Step Gardening Process
1. Plan Your Privacy Screen
Before you dig, sketch out your desired privacy screen. Consider the height, width, and density you need. Observe your yard's sunlight patterns throughout the day – how much direct sun does the area receive? This dictates your plant choices. Measure the area to determine how many plants you’ll need, ensuring adequate spacing for mature growth. Don’t overcrowd them! A common mistake is planting too close together, leading to stunted growth and disease.
2. Prepare the Soil
Good soil is the foundation of a healthy garden. Dig a trench or individual holes that are twice as wide as the plant's root ball and just as deep. Break up any compacted soil at the bottom and sides. Incorporate a generous amount of organic matter, like compost, into the excavated soil. This improves drainage, aeration, and nutrient availability. For instance, if your soil is heavy clay, adding compost can increase its ability to drain efficiently by up to 30%. Your plants will thank you!
3. Plant Your Privacy Choices
Carefully remove your plant from its nursery container. If the roots are tightly coiled (root-bound), gently tease them apart. Place the plant in the prepared hole so that the top of the root ball is level with the surrounding soil surface. Backfill the hole with your amended soil, gently firming it around the roots to remove air pockets. Don’t worry if some soil settles a bit after watering; just add more if needed.
4. Water Thoroughly
Immediately after planting, give your new additions a deep, slow watering. This helps settle the soil around the roots and eliminates any remaining air pockets. Continue to water regularly, especially during the first few weeks, ensuring the soil remains consistently moist but not waterlogged. Think of it as giving them a welcoming drink after their journey.
5. Mulch for Success
Apply a 2-4 inch layer of organic mulch around the base of your plants, keeping it a few inches away from the stems or trunks. Mulch is a gardening superpower! It conserves soil moisture, suppresses weeds, regulates soil temperature, and enriches the soil as it breaks down. This simple step can reduce your watering frequency by up to 25% and significantly cut down on weeding time.
6. Provide Initial Support (If Needed)
For taller shrubs or young trees, or if your location experiences strong winds, provide temporary support with stakes for the first 6-12 months. Ensure the ties are loose enough to allow some movement, which encourages the plant to develop a strong trunk. Guide climbing vines onto trellises or support structures using soft plant ties.
Growth & Care Tips
Consistent care is paramount for a thriving privacy screen in your backyard gardening.
- Watering Frequency: While establishing, water deeply 3-4 times a week, especially during dry periods. Once established (after one growing season), most privacy shrubs benefit from 1-2 deep waterings per week during hot, dry spells. Always check the soil moisture before watering – stick your finger 2-3 inches deep; if it feels dry, it's time to water. Overwatering is a common killer, causing root rot in an estimated 60% of plant casualties for new gardeners.
- Sunlight Exposure: Most privacy plants thrive in full sun (6+ hours of direct sunlight per day). However, some, like Skip Laurel or some varieties of Holly, can tolerate partial shade (4-6 hours). Ensure your chosen plants match your site's specific light conditions.
- Pruning: Pruning is crucial for shaping and dense growth.
- Evergreen shrubs: Prune in late winter or early spring before new growth begins, or lightly shear in late summer for maintenance. Remove any dead, diseased, or crossing branches.
- Deciduous shrubs: Prune after flowering for spring bloomers, or in late winter/early spring for summer bloomers.
- Aim for an open structure to allow air circulation, which helps prevent fungal diseases.
- Fertilization: A slow-release granular fertilizer applied once in early spring is usually sufficient for established plants. For new plants, wait until the second growing season. A balanced all-purpose fertilizer (e.g., 10-10-10) works well. Always follow package instructions; more is not better and can burn roots.
- Pest Prevention: Healthy plants are less susceptible to pests.
- Integrated Pest Management (IPM): Regularly inspect your plants for signs of pests like aphids, spider mites, or scale. Early detection is key.
- Natural Predators: Encourage beneficial insects like ladybugs by planting companion flowers.
- Horticultural Oil/Insecticidal Soap: For severe infestations, these are safer alternatives to chemical pesticides. Always follow application guidelines.
Eco-Friendly & Sustainable Alternatives
Embracing sustainable practices in your backyard gardening not only benefits the environment but often saves money too.
- Composting: Turn your kitchen scraps and yard waste into nutrient-rich compost. This free amendment reduces landfill waste and significantly improves soil health, reducing the need for synthetic fertilizers. If you're new to composting, it's simpler than you think!
- Natural Fertilizers: Beyond compost, consider using other organic amendments like aged manure, bone meal, or seaweed extract. These release nutrients slowly, building long-term soil fertility rather than providing a quick, artificial boost.
- Water Conservation:
- Drip Irrigation/Soaker Hoses: These deliver water directly to the plant roots, minimizing evaporation and runoff, saving up to 50% compared to traditional sprinklers.
- Rain Barrels: Collect rainwater from your roof for irrigation. This is free, naturally soft water that plants love.
- Mulch: As mentioned, good mulching significantly reduces evaporation.
- Alternatives for Small Spaces: Don't have a large yard for a traditional privacy hedge?
- Container Gardening: Large planters with tall grasses (like ornamental Miscanthus) or narrow evergreens (like Sky Pencil Holly) can create portable privacy screens on patios or balconies.
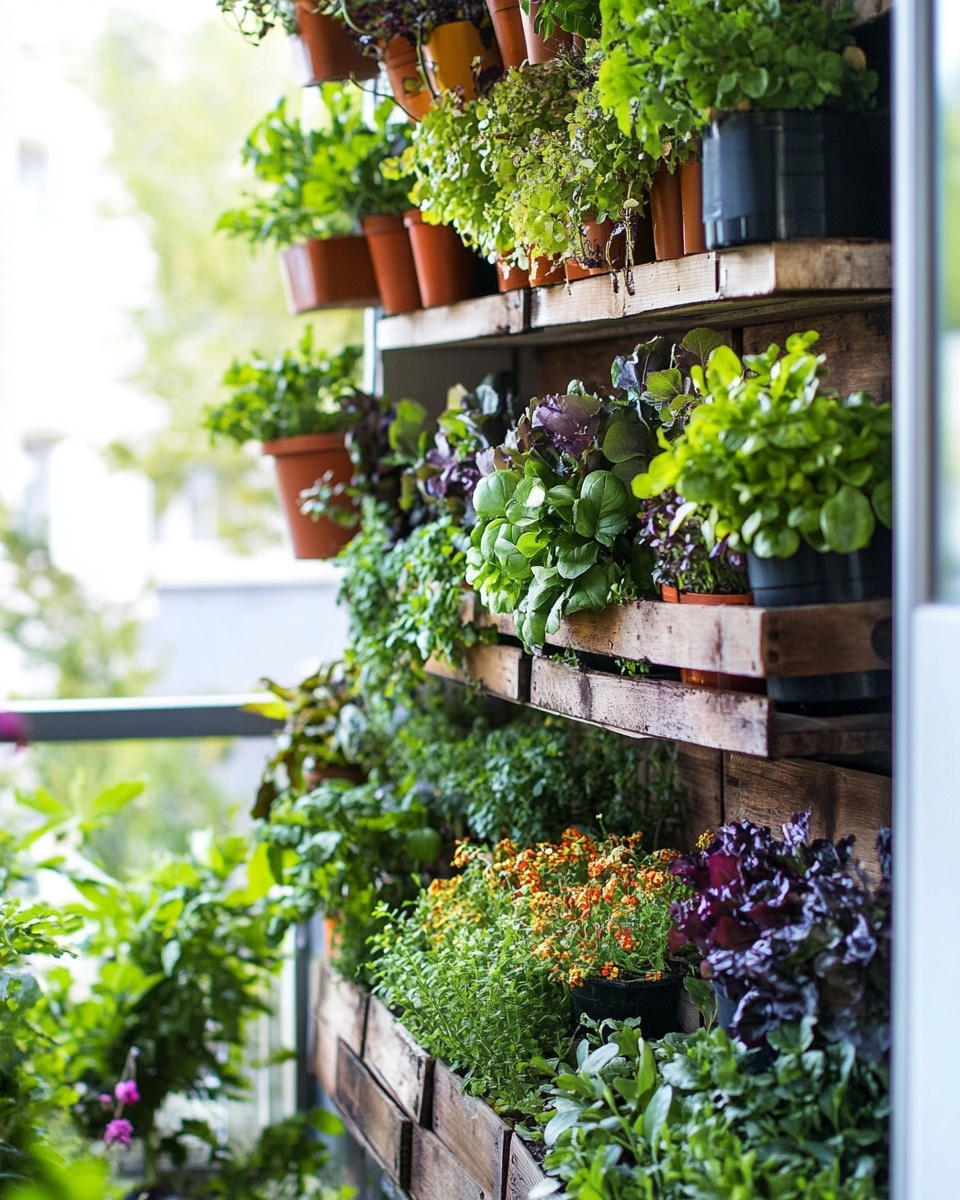
- Vertical Gardens/Living Walls: Use trellises with climbing vines (e.g., clematis, jasmine) against a fence or wall to create green screens without using much ground space. You can even build a simple DIY vertical garden with repurposed pallets!
- Layering: Combine plants of different heights in a tiered arrangement to create depth and visual privacy, even in a compact area.
Creative Ideas & Uses
Beyond basic screening, integrate your privacy plants into the overall aesthetic of your outdoor retreat. Backyard gardening offers endless possibilities for creativity.
- Feature Plantings: Instead of a monotonous hedge, intersperse your privacy shrubs with flowering trees or ornamental grasses to add bursts of color and texture. Imagine a vibrant Redbud tree nestled within a backdrop of dense evergreens, creating a focal point.
- Repurpose Garden Materials: Use old wooden ladders as trellises for climbing vines, or stack salvaged bricks to create raised garden beds that double as low privacy walls. An old door can become a stunning vertical planter.
- Combine Plants Aesthetically:
- Vary Textures: Mix broad-leaf evergreens with fine-textured conifers for visual interest.
- Layer Heights: Plant taller evergreens in the back, medium-sized shrubs in the middle, and lower-growing perennials or groundcovers in front to create a lush, tiered look.
- Seasonal Interest: Choose plants that offer different interests throughout the year – perhaps evergreens for winter structure, flowering shrubs for spring and summer color, and plants with interesting fall foliage.
- Design Ideas & Landscaping Inspirations:
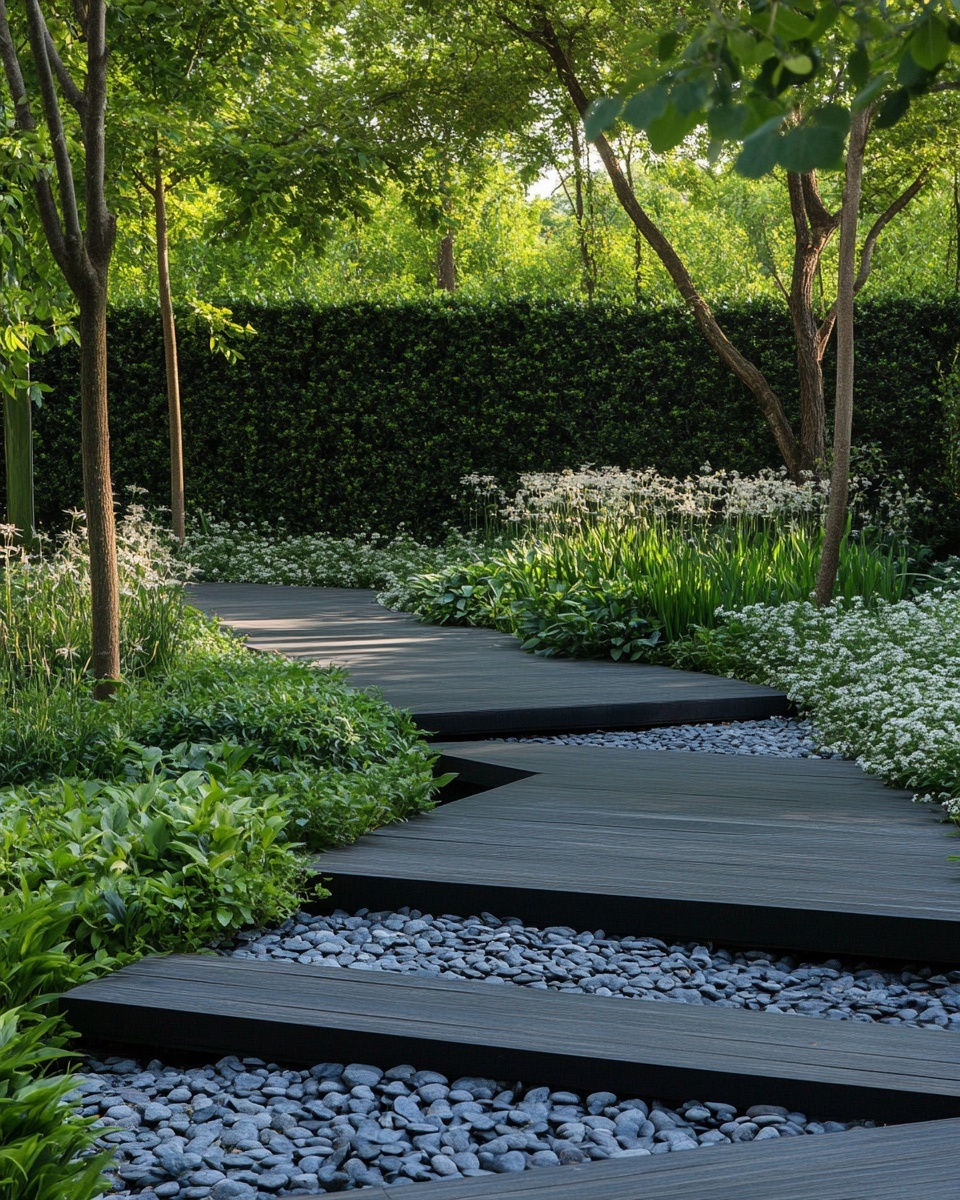
- Curved Hedges: Instead of straight lines, design a gracefully curved privacy hedge that mimics natural landscapes, adds softness, and draws the eye.
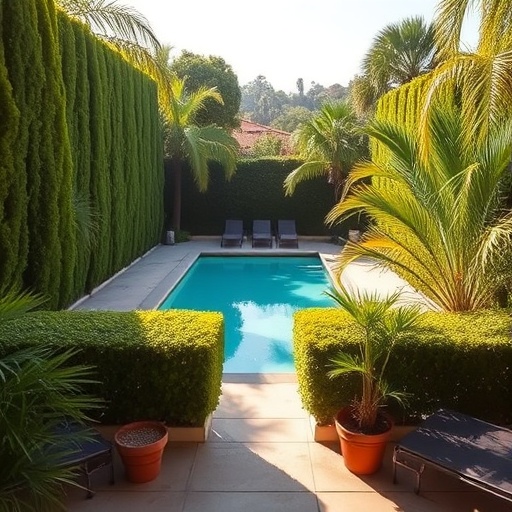
- "Living Walls" for Pool Areas: Install sturdy trellises around your pool deck and train climbing plants like English ivy (non-invasive varieties) or star jasmine. This creates a soft, green barrier that is naturally cooling and visually appealing, far more inviting than a plain fence. For more compact spaces, explore options like a vertical indoor garden for small spaces that can inspire similar outdoor applications.
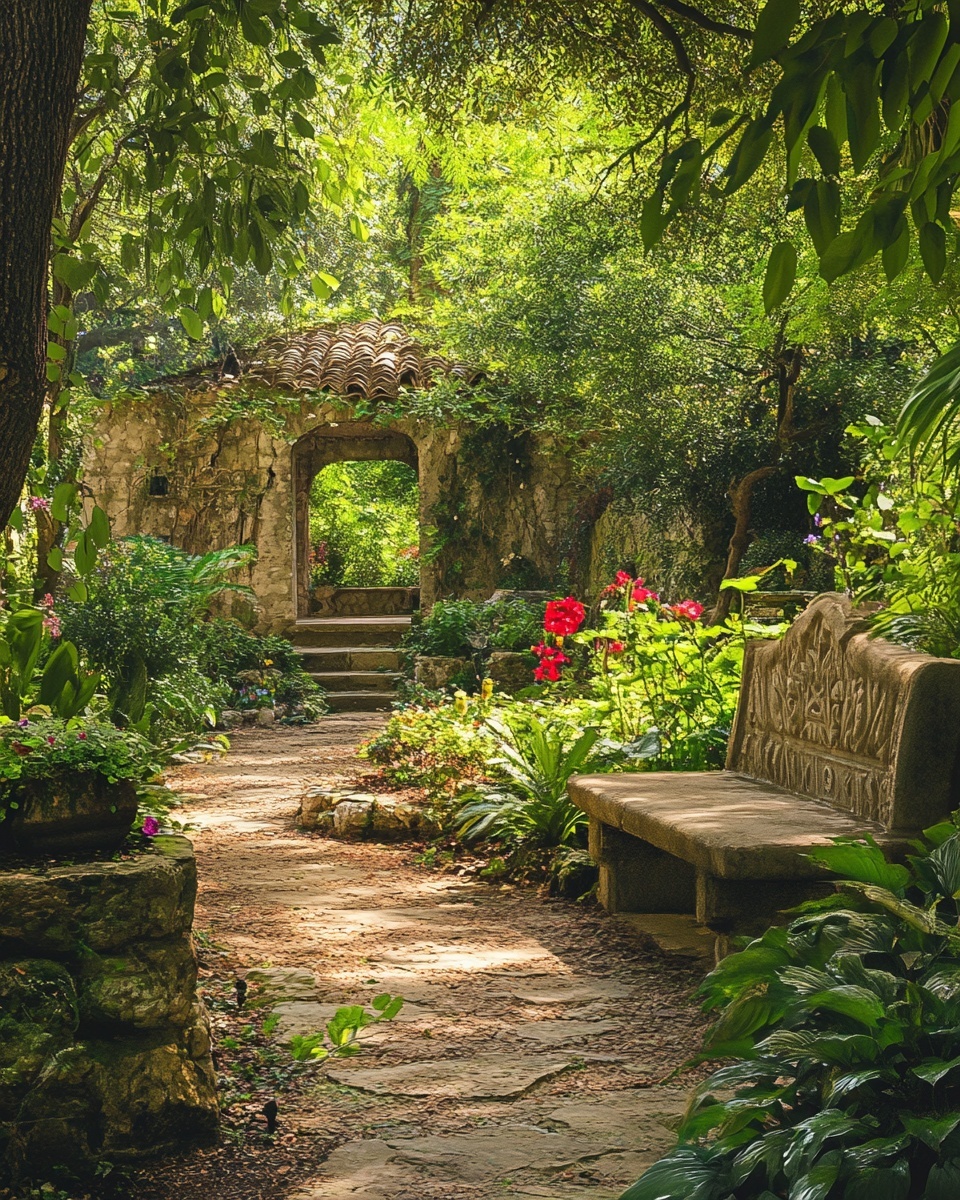
- "Secret Garden" Pathways: Use dense plantings to define a winding path leading to a secluded seating area, offering a sense of discovery and intimacy.
- Sound Buffering: Densely planted shrubs and trees can actually help absorb sound, offering an added layer of serenity to your private space.
Common Mistakes to Avoid
Even seasoned gardeners make errors; knowing what to look out for can save you a lot of heartache in your backyard gardening efforts.
- Overwatering: This is arguably the most common mistake for new privacy screens. Roots need oxygen, and saturated soil suffocates them, leading to root rot. Studies show overwatering contributes to over 50% of plant failures in home gardens. Always check soil moisture before watering.
- Incorrect Plant Spacing: Planting too close together leads to competition for nutrients, water, and light, resulting in stunted growth, increased susceptibility to disease, and a less attractive hedge. Always research the mature size of your chosen plants and space them accordingly.
- Poor Soil Preparation: Simply digging a hole and sticking a plant in subpar soil is a recipe for failure. Compacted, nutrient-deficient soil prevents root establishment. Investing time in amending your soil with organic matter pays dividends in plant health and vigor.
- Choosing the Wrong Plants for Your Climate/Site: Trying to grow tropical plants in a cold climate or sun-loving plants in deep shade is futile. Research your USDA hardiness zone and the specific light, soil, and moisture requirements of your desired privacy plants.
- Inadequate Support for Young Plants: Without proper staking or guidance, young trees can struggle against winds, leading to weak trunks. Climbing plants without a trellis will sprawl rather than ascend, failing to create the desired vertical screen.
- Neglecting Initial Care: The first year is crucial for plant establishment. Skipping regular watering, fertilizing, or mulching during this period significantly reduces the chances of long-term success. Think of it as nurturing a new family member – they need extra attention at first!
- Ignoring Pest and Disease Early On: A small pest infestation can quickly become a major problem if ignored. Regularly inspect your plants and address issues promptly using appropriate, preferably organic, methods.
Maintenance & Storage Tips
Ensuring the longevity and health of your privacy screen in your backyard gardening involves ongoing maintenance.
- Long-Term Plant Health:
- Annual Check-up: Dedicate time each spring to assess your plants. Look for signs of stress, pests, or disease. Spring is also a great time to refresh mulch and apply a slow-release fertilizer if needed.
- Prune for Structure: Beyond simple trimming, strategic pruning encourages dense growth and maintains the desired shape. For example, some evergreens benefit from "tip pruning" new growth to promote bushiness.
- Soil Testing: Every few years, consider a soil test. This can reveal nutrient deficiencies or pH imbalances that could hinder long-term plant health and help you tailor your amendments.
- Seed Storage (If applicable for future expansion or edibles): If you collect seeds from your privacy plants or any other backyard gardening edibles, proper storage is key.
- Ensure seeds are completely dry.
- Store them in airtight containers (glass jars with tight lids are ideal).
- Keep them in a cool, dark, and dry place (a refrigerator or freezer can extend viability for many types).
- Seasonal Care:
- Winter Protection: In colder climates, some evergreens might benefit from a layer of anti-desiccant spray to prevent winter burn, especially if exposed to harsh winds. Wrap delicate young plants in burlap.
- Fall Clean-up: Rake up fallen leaves from around the base of your privacy plants to prevent fungal issues and overwintering pests.
- Solutions for Common Issues:
- Yellow Leaves: Often indicates overwatering (lack of oxygen to roots), nutrient deficiency (especially iron or nitrogen), or sometimes underwatering. Check soil moisture first, then consider a balanced fertilizer.
- Brown Tips/Edges: Typically a sign of under-watering, low humidity, or windburn. Ensure consistent deep watering.
- Poor Soil Drainage: If water pools for extended periods, you may need to amend the soil further with copious amounts of organic matter, install a French drain, or even consider creating a raised bed for your privacy plants.
- Stunted Growth: Could be due to nutrient deficiency (solve with fertilizer/compost), root-bound issues (correct when planting), or inadequate sunlight.
Conclusion
Transforming your outdoor space with a privacy screen through thoughtful backyard gardening is deeply satisfying. We've explored everything from the essential tools and efficient planting techniques to long-term care and sustainable alternatives. By avoiding common pitfalls and embracing creative ideas, you can cultivate a beautiful, serene, and private sanctuary that enhances your home's appeal and your lifestyle. The journey of growing lush greenery for privacy is an investment in your well-being, offering both visual beauty and a quiet retreat from the world.
Ready to dig in and create your own green haven? Share your planting plans or questions in the comments below – we'd love to hear from you! Don't forget to take before-and-after photos and share your progress.
FAQ
Q1: What are the fastest-growing plants for privacy?
A1: For quick privacy in your backyard gardening, consider Leyland Cypress, clumping bamboo (like Fargesia varieties), Skip Laurel, Green Giant Arborvitae, or fast-growing climbing vines like Trumpet Vine (Campsis radicans) on a sturdy trellis. Many of these can grow 2-3 feet per year.
Q2: How far should large privacy shrubs be planted from a pool or fence?
A2: Generally, plant large shrubs and trees at least 3-5 feet away from permanent structures like pools, fences, or foundations. This allows for root growth, mature canopy spread, and proper air circulation, which is crucial for plant health in your backyard gardening efforts.
Q3: Can I grow a privacy screen in containers?
A3: Yes! For patios, balconies, or smaller spaces, choose large, heavy containers (at least 20-gallon size) and select narrower, upright plants like Sky Pencil Holly, Dwarf Alberta Spruce, or ornamental grasses. Ensure containers have good drainage.
Q4: What’s the best soil for privacy shrubs?
A4: Most privacy shrubs prefer well-draining soil rich in organic matter. A good mix would be your existing garden soil generously amended with compost, avoiding heavy clay or excessively sandy conditions.
Q5: How do I deter pests organically in my privacy garden?
A5: Implement beneficial insects (ladybugs, lacewings), use neem oil or insecticidal soap for targeted issues, and practice good garden hygiene. Planting companion plants like marigolds can also help repel certain pests.
Q6: My privacy hedge isn't growing as fast as I expected. What could be wrong?
A6: Slow growth in backyard gardening can be due to several factors: insufficient sunlight, poor soil nutrients (consider a soil test), inadequate watering (either too much or too little), or compacted soil. Reviewing these basic needs can usually pinpoint the issue.
Q7: How often should I fertilize my privacy plants?
A7: For newly planted privacy shrubs, wait until the second growing season. After that, a single application of a balanced, slow-release granular fertilizer in early spring is typically sufficient for most established plants. Always follow product instructions to prevent over-fertilization.
You may also enjoy reading about:
- How to Grow Succulents Indoors Without Overwatering
- Creative Indoor Plant Decor Ideas
- Vertical Indoor Garden Ideas for Small Spaces
For more inspiration on creating stunning garden spaces, check out this amazing collection on Pinterest: Gardening Ideas.


