Introduction
Did you know that over 35 million households in the US alone participated in some form of home gardening in the past year, with a significant surge in indoor gardening? This data suggests a growing appreciation for bringing nature indoors, even for those without sprawling yards. Far from being a complex endeavor reserved for seasoned horticulturists, setting up an easy indoor gardening system is entirely achievable for even the most hesitant beginner. Imagine fresh herbs for dinner, vibrant flowers brightening your living space, or even homegrown vegetables, all cultivated within the comfort of your home. This guide will walk you through everything you need to know to transform a small corner of your home into a flourishing indoor oasis, proving that a green thumb is more about good information than innate talent.
Tools & Materials Needed
Embarking on your indoor gardening journey requires a few essential items, but don't worry, it doesn't break the bank! We’re focusing on making your indoor gardening setup both effective and sustainable.
- Pots and Planters: Start with pots that have drainage holes. Small 4-6 inch diameter pots are perfect for herbs and small plants.
- Eco-friendly alternative: Repurpose plastic containers (yogurt cups, milk jugs, soda bottles) by cleaning them thoroughly and punching drainage holes in the bottom. Terra cotta pots are also a great natural option.
- Potting Mix: A high-quality, well-draining potting mix is crucial. Look for mixes specifically designed for indoor plants, often containing perlite or vermiculite to improve aeration.
- Budget-friendly tip: You can often buy potting mix in larger bags, which is more economical in the long run.
- Seeds or Starter Plants: For beginners, starting with seeds of easy-to-grow herbs like basil, mint, or chives is rewarding. Alternatively, small starter plants (often found at local nurseries or grocery stores) provide an immediate head start.
- Consider: For a vibrant display, consider easy flowers to grow for beginners like marigolds or petunias.
- Watering Can or Spray Bottle: A small watering can with a narrow spout allows for precise watering, preventing overwatering. A spray bottle is excellent for misting humidity-loving plants.
- Grow Lights (Optional but Recommended): If your chosen spot doesn't receive at least 4-6 hours of direct sunlight daily, a full-spectrum LED grow light is a game-changer. These are energy-efficient and mimic natural sunlight, crucial for robust growth.
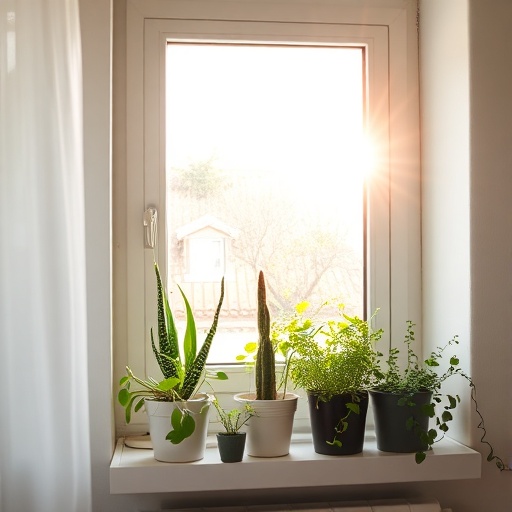
- DIY alternative: Position plants near a south-facing window (in the Northern Hemisphere) for maximum natural light.
- Small Gardening Trowel or Scoop: Useful for transplanting and working with soil.
- Gloves (Optional): For those who prefer to keep their hands clean.
Time & Effort Overview
One of the beauties of indoor gardening is its relatively low time commitment once the initial setup is complete. For most beginner-friendly plants like herbs or small leafy greens, you're looking at:
- Initial Setup: Approximately 1-2 hours. This includes gathering materials, potting, and initial watering.
- Daily Maintenance: 5-10 minutes. This mostly involves quick checks for watering needs, light adjustments, and admiring your green friends.
- Weekly Maintenance: 15-30 minutes. This might include more thorough watering, pruning, or checking for pests.
- Growth Rate: Many herbs, for instance, show visible growth within a week and can be harvested in 3-4 weeks. This is roughly 25% faster than some traditional outdoor garden herbs due to controlled indoor conditions.
- Difficulty Level: beginner. With the right guidance, anyone can succeed!
Step-by-Step Gardening Process
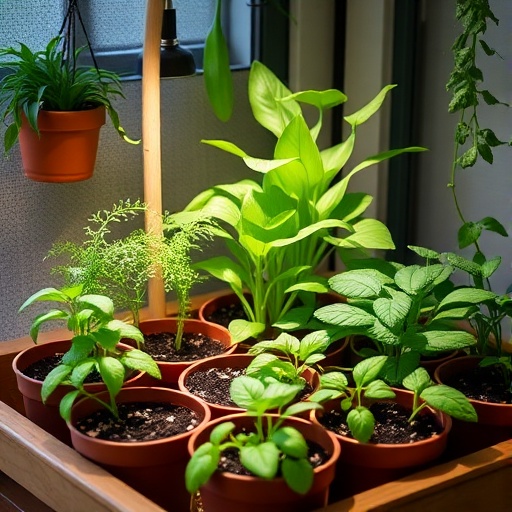
Ready to get your hands dirty? Follow these simple steps for a successful indoor gardening adventure.
1. Choose Your Plants Wisely
Select plants suitable for indoor environments and your available light. Herbs like basil, mint, oregano, and chives are fantastic choices for beginners. Small-leaf lettuces, spinach, and even some small pepper varieties can also thrive indoors with adequate light.
2. Prepare Your Pots and Soil
Ensure your chosen pots have drainage holes. If not, drill or punch a few small holes in the bottom. Fill each pot almost to the brim with your high-quality potting mix, leaving about an inch of space from the top. The soil should be light and airy, not compacted.
3. Plant Your Seeds or Starters
If planting seeds, follow the package instructions for planting depth and spacing. Generally, small seeds are lightly pressed onto the surface and covered with a thin layer of soil. For starter plants, gently remove them from their nursery pots, loosen any compacted roots, and place them into the prepared pots. Fill around the plant with more potting mix, pressing gently.
4. Provide Initial Watering
Immediately after planting, water thoroughly until you see water drain from the bottom of the pot. This helps settle the soil around the seeds or roots. Don't worry if the soil level drops a bit; you can always add more potting mix.
5. Position for Light
Place your newly potted plants in a location where they will receive adequate light. A south-facing window is ideal. If natural light is lacking, position your grow light about 6-12 inches above the plants, setting a timer for 12-16 hours of light per day, depending on the plant's needs.
6. Monitor and Nurture
Over the next few days and weeks, consistency is key. Check your plants daily. Pay attention to soil moisture, leaf color, and any signs of stress. This hands-on attention is where the true joy of indoor gardening lies!
Growth & Care Tips
Once your indoor gardening setup is in place, consistent care ensures thriving plants.
- Watering Frequency: This is often the trickiest part for beginners. The golden rule is to water when the top inch of soil feels dry to the touch. For most indoor plants, this could mean every 2-5 days, but it varies based on plant type, pot size, humidity, and temperature. Overwatering is a common killer, preventing roots from getting oxygen.
- Sunlight Exposure: Most edible indoor plants require at least 4-6 hours of direct sunlight per day. If using a grow light, aim for 12-16 hours. Rotate your pots every few days to ensure even growth towards the light source, preventing leggy and lopsided plants.
- Pruning: Regularly prune your plants to encourage bushier growth and increase yields, especially for herbs. Simply pinch off the top sets of leaves. For flowering plants, deadhead spent blooms to encourage new flowers.
- Fertilization: Indoor plants in pots eventually deplete the nutrients in their potting mix. Most experts recommend a diluted liquid fertilizer every 2-4 weeks during the growing season (spring and summer). A common recommendation is ¼ to ½ strength of a balanced all-purpose fertilizer.
- Pest Prevention: Indoor plants are less susceptible to pests than outdoor ones, but they can still occur. Inspect your plants regularly for tiny insects like aphids, spider mites, or fungus gnats. If you spot them, a gentle spray of neem oil solution or insecticidal soap can effectively manage them. A strong spray of water can also dislodge many pests.
- Humidity: Many indoor plants appreciate higher humidity. If your home is dry, consider misting your plants daily or placing their pots on a pebble tray filled with water (ensure the pot itself doesn't sit in the water).
Eco-Friendly & Sustainable Alternatives
Making your indoor gardening practice sustainable is not only good for the planet but also often more cost-effective.
- Composting: Start a small indoor compost bin (worm composter or bokashi system) for kitchen scraps. The resulting compost tea or finished compost can enrich your potting mix, reducing the need for chemical fertilizers.
- Natural Fertilizers: Beyond composting, consider options like used coffee grounds (acid-loving plants), banana peels (potassium), or diluted seaweed extracts for nutrient boosts.
- Water Conservation: Collect rainwater if possible, or repurpose water used to boil pasta or vegetables (once cooled) for your plants. Group plants together to create a microclimate that retains humidity.
- DIY Planters: As mentioned, upcycle plastic containers, tin cans, or even old ceramic mugs into stylish planters. You can find inspiration on sites like https://www.pinterest.com/janatjanay47/ for creative upcycling ideas.
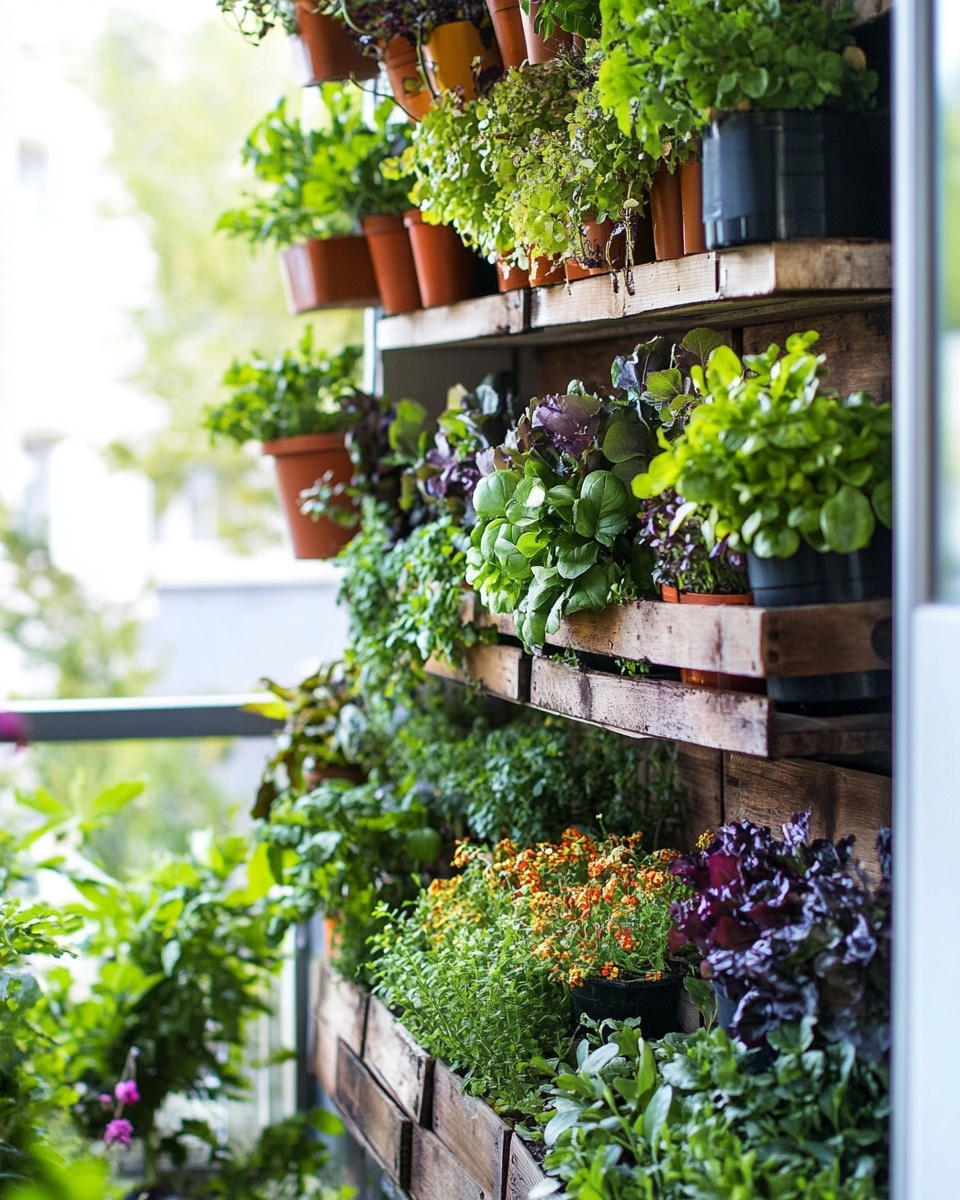
- Small Space Solutions: For truly compact living, consider vertical indoor garden ideas for small spaces or DIY hanging herb planters for balconies. These maximize your growing area without taking up valuable floor space.
Creative Ideas & Uses
Indoor gardening isn't just about growing food; it's also about enhancing your living space and well-being.
- Decorate with Plants: Use plants as living decor. Group plants of varying heights and textures for visual interest. A trailing plant like Pothos can drape elegantly from a shelf, while a vibrant African Violet adds a pop of color to a tabletop.
- Repurpose Garden Materials: Old watering cans can become decorative planters. Wooden crates can be stacked to create tiered garden displays. Even smooth river stones collected during a walk can be used as decorative top dressing for your pots.
- Aesthetic Combinations: Think about combining plants with complementary colors or growth habits. For example, plant a small succulent garden in a wide, shallow bowl for an easy-care centerpiece, or pair a tall rosemary plant with trailing thyme in a window box for a Mediterranean feel.
- Vertical Gardens: Maximize space and add a modern touch with a vertical garden system. These can range from simple wall-mounted planters to sophisticated hydroponic units.
Common Mistakes to Avoid
Even experienced gardeners make mistakes! Learning from common pitfalls will set you up for success in your indoor gardening journey.
- Overwatering: This is by far the most common mistake. Overwatering causes root rot in over 60% of houseplants, leading to wilting, yellow leaves, and eventually plant death. Always check the soil moisture before watering.
- Insufficient Light: Plants need light for photosynthesis. Without enough light, plants become leggy and weak. Always assess your light conditions and supplement with grow lights if necessary. Many beginners underestimate how much light plants truly need to thrive.
- Lack of Drainage: Pots without drainage holes are a recipe for disaster, leading to soggy soil and root rot. Always ensure your pots have proper drainage.
- Ignoring Pests: A small pest problem can quickly escalate if not addressed. Regular inspection and prompt action are key. A small infestation is much easier to manage than a full-blown breakout.
- Using Garden Soil: Garden soil is too heavy for pots, compacts easily, and can introduce outdoor pests and diseases. Always use a high-quality potting mix specifically formulated for container gardening.
- Neglecting Fertilization: As mentioned, nutrients in potting mix deplete. Failing to fertilize can lead to nutrient deficiencies, stunted growth, and pale leaves.
Maintenance & Storage Tips
Long-term success in indoor gardening involves consistent maintenance and knowing how to handle potential issues.
- Reporting: As your plants grow, they may become root-bound. You'll know it's time to repot into a slightly larger container when roots start circling the bottom of the pot or growing out of the drainage holes. Typically, this is needed every 1-2 years.
- Seasonal Care: Adjust your care based on the seasons. Plants generally require less water and fertilizer in winter months when light levels are lower and growth slows down.
- Troubleshooting Yellow Leaves: Yellow leaves can indicate several issues:
- Overwatering: Wilting and soft yellow leaves. Reduce watering frequency.
- Under-watering: Dry, crispy yellow leaves. Increase watering frequency.
- Nutrient Deficiency: Overall yellowing, especially older leaves. Consider fertilization.
- Insufficient Light: Causes pale, yellowing, or stunted growth. Move to a brighter spot or add a grow light.
- Poor Soil Drainage: If water sits on the surface for a long time or your plant consistently has wet feet, your soil likely has poor drainage. Amend your potting mix with more perlite or grit, or choose a different mix altogether.
- Seed Storage: If you're saving seeds for next season, store them in a cool, dark, and dry place in airtight containers or paper envelopes. Label them clearly with the date.
Conclusion
Embarking on an easy indoor gardening setup is a rewarding journey that connects you with nature, enhances your living space, and can even provide fresh produce. From selecting your first plant to enjoying your first harvest, the process is accessible and filled with moments of discovery. Remember, every master gardener started as a beginner. With the data-driven tips, simple steps, and expert advice shared here, you have everything you need to cultivate a thriving indoor oasis.
Ready to transform your home and grow your green thumb? Pick a plant, gather your materials, and start planting today! Share your progress with us and let us know what you’re growing. For more inspiration, explore our guide on Best Houseplants for Beginners or dive into the details of How to Grow Succulents Indoors Without Overwatering.
FAQ
Q1: What are the best indoor plants for beginners?
A1: For a successful indoor gardening experience, common herbs like basil, mint, and chives are excellent. Low-maintenance flowers such as African violets or small leafy greens like spinach and lettuce also thrive indoors with proper care. You might also find our article on 10 Easy Herbs to Grow Indoors particularly helpful!
Q2: How often should I water my indoor plants?
A2: The best practice is to check the soil moisture. Water when the top inch or two of soil feels dry to the touch. This can vary from every few days to once a week, depending on the plant, pot size, and environmental conditions. Overwatering is more detrimental than underwatering for most plants.
Q3: Do I really need a grow light for indoor gardening?
A3: If your home lacks sufficient natural light (at least 4-6 hours of direct sunlight daily for most plants), a full-spectrum LED grow light is highly recommended. It mimics natural sunlight and is crucial for robust growth, especially for edible plants in your indoor gardening setup.
Q4: What kind of soil should I use for indoor plants?
A4: Always use a high-quality potting mix specifically formulated for indoor plants. These mixes are designed to be well-draining and aerated, preventing common issues like root rot. Avoid using garden soil, as it's too dense and can compact in pots.
Q5: How can I prevent pests in my indoor garden?
A5: Regular inspection is your best defense. Check your plants weekly for any signs of small insects. If you find pests, natural solutions like neem oil spray, insecticidal soap, or simply wiping leaves with a damp cloth are effective for your indoor gardening efforts. Good air circulation also helps prevent many common indoor pests.
Q6: Can I grow vegetables in my indoor garden?
A6: Absolutely! While not all vegetables are suitable, many smaller varieties can flourish. Try growing small peppers, cherry tomatoes (with adequate light and support), spinach, lettuce, and radishes. Our guide on how to grow tomatoes indoors year-round offers more specialized advice.
Q7: How do I manage humidity for my indoor plants?
A7: Many indoor plants appreciate higher humidity. You can increase humidity by misting plants daily, placing a humidifier nearby, or using a pebble tray: fill a shallow tray with pebbles and water, then place your plant pots on top (ensuring the pot doesn't sit directly in the water).
Want to dive deeper into sustainable gardening practices? Check out our article about Organic Greenhouse Gardening Tips. If you're looking for different ways to nurture plants in your home, consider exploring How to Grow Succulents Indoors Without Overwatering or perhaps learn about DIY Indoor Herb Garden for Small Kitchens. For those aiming to maximize space, our guide on Vertical Indoor Garden Ideas for Small Spaces offers fantastic solutions.
