Introduction
Did you know that commercial fertilizer production contributes significantly to global greenhouse gas emissions – an estimated 1.4% annually, to be precise? It's a sobering thought when you're simply trying to grow some fresh herbs for your kitchen. But what if you could nurture your herb garden with powerful nutrients while simultaneously reducing your environmental footprint and saving money? The secret lies in harnessing the magic of homemade fertilizers & compost. This comprehensive guide will empower you to create potent, eco-friendly nourishment for your herbs, transforming your garden into a thriving, sustainable sanctuary. We’re going to dive deep into organic recipes for herb gardens, ensuring your basil, rosemary, and mint flourish like never before using only natural ingredients.
Tools & Materials Needed
Embarking on your journey to create nutrient-rich homemade fertilizers doesn’t require a specialized laboratory. Most of what you need is likely already in your kitchen or garden shed.
- Compost Bin/Pile: A dedicated space for organic decomposition. For small spaces, a vermicompost bin (worm bin) or a small tumbling composter works wonders. Eco-friendly alternative: A simple stack of pallets or a designated corner in your yard.
- Airtight Containers: For storing liquid fertilizers and dry amendments. Glass jars or repurposed塑料 (plastic) food containers are perfect.
- Blender or Food Processor: For pureeing certain ingredients for liquid feeds. (Budget-friendly alternative: A potato masher and some elbow grease for softer materials).
- Large Buckets with Lids: Essential for brewing "compost tea" and other liquid concoctions. Paint buckets, readily available from hardware stores, often come with airtight lids.
- Watering Can: For precise application of liquid fertilizers.
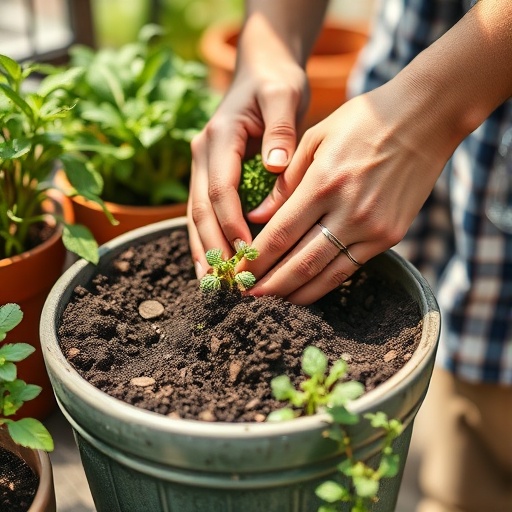
- Gloves & Trowel: Standard gardening essentials for handling soil and compost.
- Raw Materials: This is where the real magic happens! Think kitchen scraps (fruit and vegetable peels, coffee grounds, eggshells), yard waste (grass clippings, leaves), wood ash (from untreated wood), and even Epsom salts.
Time & Effort Overview
Crafting your own homemade fertilizers & compost is a continuous, rewarding process rather than a one-time task. Making a batch of liquid fertilizer can take as little as 10-15 minutes of active preparation, with brewing time ranging from 24 hours to a week. Building a compost pile, on the other hand, is an initial setup of about 30-60 minutes, followed by regular additions and turning every few weeks. Expect fully mature compost in 2-6 months, though some methods (like hot composting) can reduce this significantly. Compared to continually purchasing synthetic fertilizers, which offer instant results but often lack the long-term soil benefits, homegrown nutrients offer sustained enrichment. The effort level is beginner to intermediate – anyone can successfully implement these strategies with a little patience and consistency.
Step-by-Step Gardening Process
Let's get down to the nitty-gritty of creating potent, natural nourishment for your herb plants!

Step 1: Starting Your Compost Pile (The Foundation of Homemade Fertilizers)
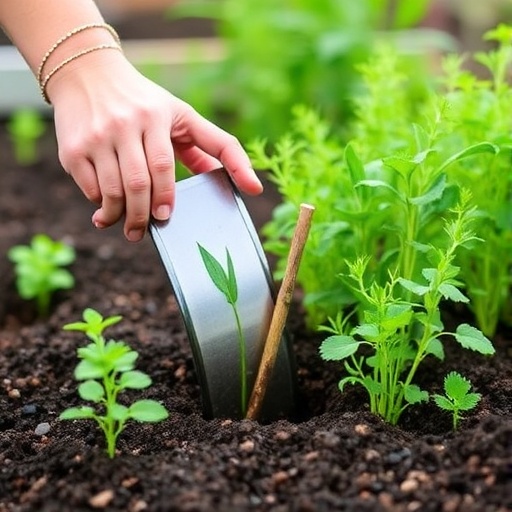
Begin by choosing a suitable spot for your compost pile or bin. It should be easily accessible but not directly in scorching sun. Layer "greens" (nitrogen-rich: grass clippings, food scraps, coffee grounds) with "browns" (carbon-rich: dry leaves, shredded newspaper, small twigs). Aim for a 2:1 brown to green ratio. Keep it moist, like a wrung-out sponge. Turn the pile every week or two to aerate it and speed decomposition. Don't worry if it looks messy at first; nature knows what to do!
Step 2: Banana Peel Liquid Fertilizer for Flowering Herbs
Banana peels are rich in potassium, excellent for promoting flowering and overall herb vigor. Chop 3-4 banana peels into small pieces. Place them in a large jar and fill with water. Let it sit for 2-3 days, stirring daily. Strain out the solids, and dilute the liquid (1 part banana water to 4 parts plain water). Apply directly to the base of herbs like basil or chives.
Step 3: Coffee Ground Boost for Leafy Herbs
Coffee grounds are a fantastic source of nitrogen, essential for lush, green foliage. Simply sprinkle used coffee grounds directly around the base of your established herbs, like mint, parsley, or cilantro. Don't apply too thickly; a light dusting is enough. You can also work them lightly into the topsoil. For a liquid feed, soak 1 cup of used grounds in 5 gallons of water for 24 hours, then strain and water your plants.
Step 4: Eggshell Calcium for Strong Stems
Eggshells are packed with calcium carbonate, crucial for strong cell walls and preventing blossom end rot (though less common in herbs, it's a good practice). Rinse and dry eggshells thoroughly. Grind them into a fine powder using a blender or mortar and pestle. Sprinkle this powder around the base of your herbs and gently work it into the soil. This is a slow-release amendment, so apply it every few months.
Step 5: Epsom Salt Micronutrient Boost
While not strictly a "fertilizer," Epsom salts (magnesium sulfate) provide magnesium and sulfur, vital micronutrients often lacking in soil. Dissolve 1 tablespoon of Epsom salts in 1 gallon of water. Use this solution to water your herbs once a month, especially if you notice yellowing leaves between the veins (a sign of magnesium deficiency). Here’s how to fix it effectively and quickly!
Step 6: Crafting a Nutrient-Rich Compost Tea
Compost tea is a liquid gold for your garden. Fill a burlap sack or old pillowcase with about 2-3 cups of finished compost. Suspend this "tea bag" in a 5-gallon bucket of unchlorinated water (let tap water sit out for 24 hours to de-chlorinate). Add a tablespoon of molasses or a few drops of fish emulsion to feed the beneficial microbes. Let it brew for 1-3 days, stirring occasionally. The water should turn a rich brown color. Dilute 1:10 with plain water and use as a foliar spray or soil drench.
Growth & Care Tips
Once you've applied your homemade fertilizers & compost, consistent care is key. Most herbs thrive with at least 6 hours of direct sunlight daily, though some, like mint and parsley, can tolerate partial shade. Aim for consistent moisture, but avoid overwatering, which causes root rot in over 60% of houseplants and container plants. A good rule of thumb is to water when the top inch of soil feels dry. Pruning regularly not only encourages bushier growth but also delays flowering, extending your harvest. Use your homemade fertilizers every 2-4 weeks during the active growing season. Monitor for pests like aphids and spider mites, and address them promptly with organic solutions such as neem oil or a strong spray of water.
Eco-Friendly & Sustainable Alternatives
Beyond using homemade fertilizers & compost, there are many ways to make your herb gardening even greener.
- Rainwater Harvesting: Collect rainwater in barrels to water your plants. It's naturally free of chlorine and beneficial for plant health.
- Companion Planting: Strategically plant herbs together that benefit each other. For example, planting basil near tomatoes can deter tomato hornworms.
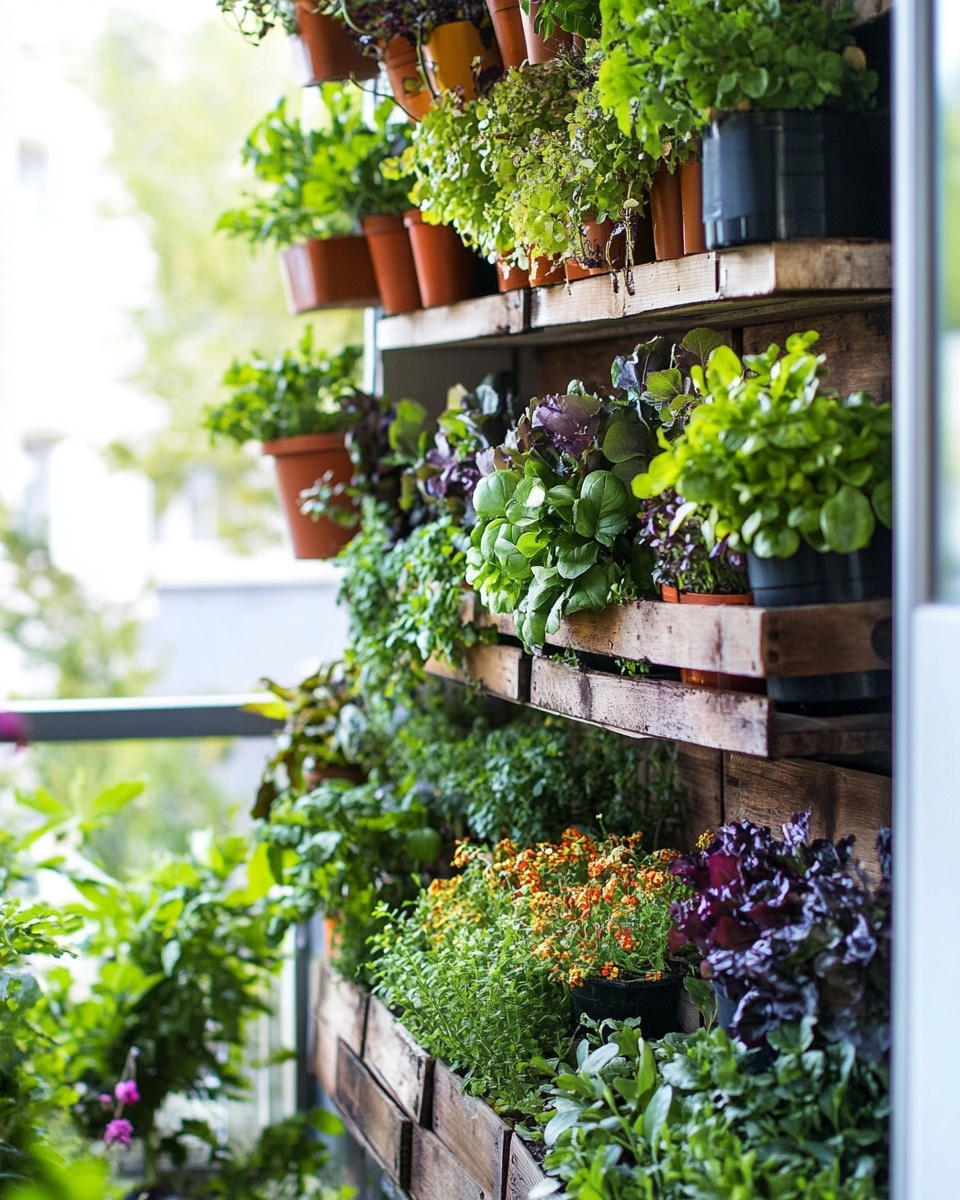
- Vertical Gardening: For small spaces, consider vertical planters to maximize your herb yield. Check out "vertical balcony herb garden design ideas" on Pinterest for inspiration.
- DIY Planters: Repurpose household items like old tires, plastic bottles, or wooden crates into planters. This reduces waste and adds unique character to your garden. You can even find "DIY balcony herb garden with recycled containers" for more inspiration.
Creative Ideas & Uses
Homemade fertilizers & compost don't just nourish your herbs; they inspire creativity!
- Edible Landscaping: Incorporate your herb garden into your overall yard design. A border of rosemary or thyme can be both beautiful and functional.
- Herb Spirals: Create a visually striking and space-saving herb spiral using stones or bricks. The different heights and sun exposures are perfect for various herbs.
- Gift-Giving: Share your surplus herbs, or even small potted herb plants, as thoughtful, homemade gifts.
- Aromatic Sachets & Potpourri: Dry excess lavender, rosemary, or mint to create fragrant sachets for drawers or homemade potpourri.
Common Mistakes to Avoid
Even seasoned gardeners make mistakes. Here are some pitfalls to steer clear of:
- Applying Too Much Undiluted Fertilizer: Homemade is potent! Over-fertilizing can still burn plant roots. Always dilute liquid fertilizers appropriately.
- Using Non-Composted Materials Directly: Raw food scraps or fresh manure can attract pests and diseases, and their decomposition can rob nitrogen from your plants. Always compost them first.
- Ignoring Soil pH: Different herbs have different pH preferences. While compost helps balance pH, a very acidic or alkaline soil might still need adjustments. A simple soil test kit can help.
- Overwatering, especially with slow draining soil: As mentioned, overwatering is a primary killer. Ensure your containers have adequate drainage holes. Poor soil drainage can effectively drown roots.
- Expecting Immediate Results: Organic feeding is a slow and steady process. It builds soil health over time, leading to stronger, more resilient plants, but it won't offer the instant green-up of synthetic chemicals. Be patient!
Maintenance & Storage Tips
Maintaining your thriving herb garden and its nutrient supply is straightforward. Continue to "feed" your herbs with your homemade fertilizers & compost every 2-4 weeks during their active growing season. For liquid concoctions, store any unused diluted solutions in a cool, dark place and use within a week. Undiluted concentrates can last longer, but it's generally best to make smaller, fresher batches. Properly sealed, dried amendments like eggshell powder or wood ash will last indefinitely. For herbs grown in containers, consider repotting annually with fresh compost-rich soil to replenish nutrients. If you notice yellow leaves, assess your watering first, then consider a magnesium boost with Epsom salts. For leggy growth, prune back aggressively to encourage new, bushier growth.
Conclusion
Embracing homemade fertilizers & compost for your herb garden is more than just a gardening technique; it's a commitment to sustainability, health, and a deeper connection with nature. By utilizing everyday scraps and simple methods, you're not only providing your herbs with the best possible nourishment but also enriching your soil, reducing waste, and saving money. The satisfaction of harvesting vibrant, fragrant herbs, knowing they've been nurtured entirely by your own hands and natural resources, is unparalleled. So, what are you waiting for? Start brewing that compost tea, sprinkle those coffee grounds, and watch your herb garden flourish! Share your homegrown herb adventures with us on social media—we’d love to see your progress.
FAQ
Q1: How often should I use homemade fertilizers on my herbs?
A1: For most herbs, applying homemade fertilizers & compost every 2-4 weeks during their active growing season (spring through early fall) is ideal. Always err on the side of under-fertilizing rather than over-fertilizing with organic methods.
Q2: Can I use all these homemade fertilizers together?
A2: Absolutely! Think of them as a balanced diet. Coffee grounds offer nitrogen, banana peels provide potassium, and eggshells give calcium for comprehensive nourishment. Just be mindful of dilution ratios for liquid feeds.
Q3: Are homemade fertilizers safe for edible herbs?
A3: Yes, one of the greatest benefits of homemade fertilizers & compost is that they are entirely natural and safe for edible herbs. You're simply returning nutrients to the soil using ingredients you recognize.
Q4: My compost pile smells bad. What am I doing wrong?
A4: A foul smell usually indicates too much "green" (nitrogen-rich) material or not enough aeration. Add more "browns" (carbon-rich, like dry leaves or shredded cardboard) and turn your compost pile more frequently to introduce oxygen.
Q5: What are the best herbs to start with for beginners using homemade fertilizers?
A5: Mint, basil, rosemary, and chives are fantastic starting points. They are generally robust growers and respond very well to the nutrient boosts from homemade fertilizers & compost, making your efforts feel incredibly rewarding quickly.
Q6: Can I use homemade fertilizers for other plants, not just herbs?
A6: Absolutely! The principles of homemade fertilizers & compost are универсальны (universal) and can benefit almost any plant in your garden, from vegetables to flowers. Your whole garden will thank you!
Q7: Where can I find more inspiration for my herb garden design?
A7: For more design inspiration, you might enjoy exploring ideas like "vertical balcony herb garden design ideas" or even "how to start a balcony herb garden in small spaces" if you're working with limited room.
Q8: I want to grow different types of plants. Do you have any greenhouse suggestions?
A8: Yes, for expanding your gardening endeavors, especially if you're interested in climate control or extending your growing season, check out our guide on "beginners-guide-to-greenhouse-gardening".
More Gardening Delights
Looking for more ways to make your garden thrive? Don't miss these popular articles:
- Spruce up your small spaces: Discover clever solutions with our guide on "compact balcony herb garden layout plan".
- Grow your favorite ingredients indoors: Learn the secrets to year-round freshness with "diy-indoor-herb-garden-for-small-kitchens".
- Explore more organic gardening options: For broader organic tips, delve into "organic-greenhouse-gardening-tips" for a holistic approach to nurturing your plants.
For even more inspiration, head over to our Pinterest board for a visual feast of gardening ideas: https://www.pinterest.com/janatjanay47/


